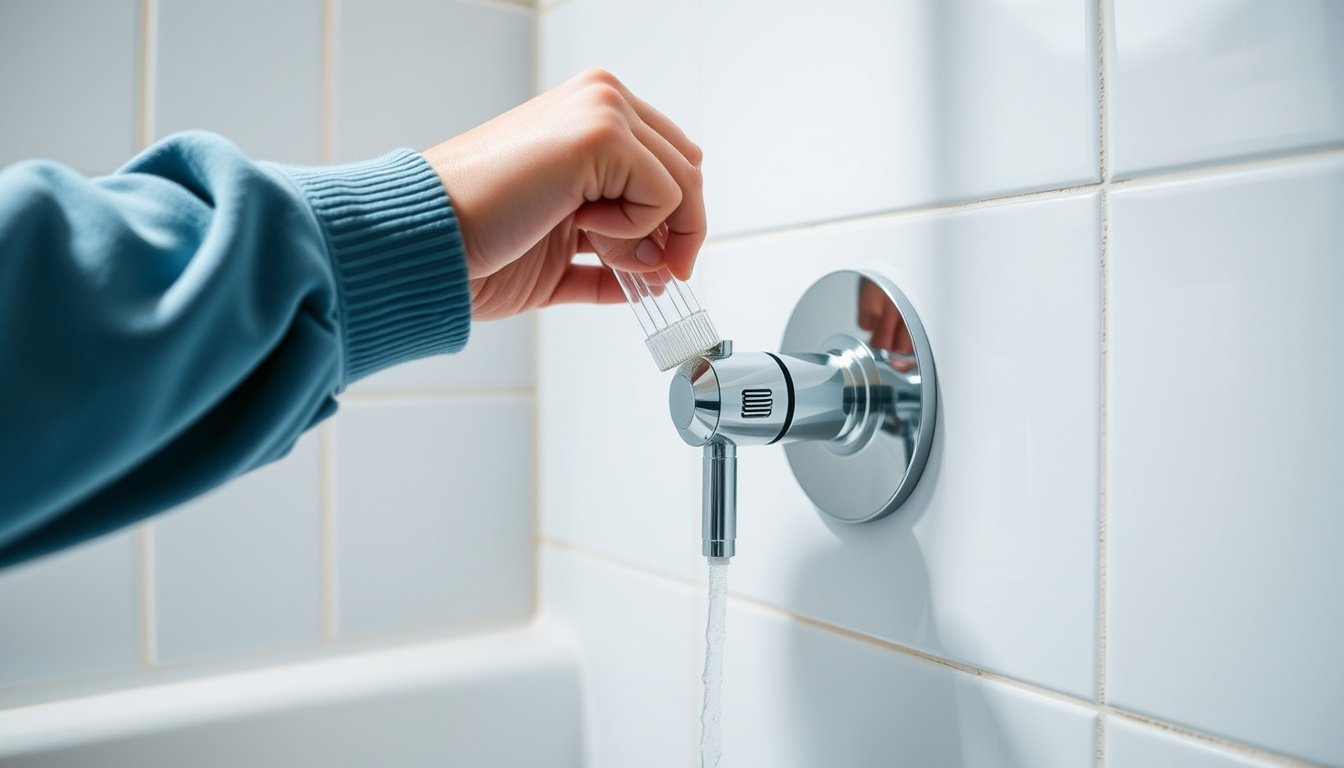
Water kept running in a thin stream after I shut the shower handle off, and the tub floor stayed damp all night. When I finally pulled the trim, the diverter area looked normal, yet the leak persisted every time I switched to a different spray mode. That context is exactly why How To Fix A Leaking Shower Faucet Diverter deserves a clear explanation.
A leaking shower faucet diverter wastes water, raises your utility bill, and can wear down nearby seals and finishes faster than you expect. If the drip continues, it can also mask deeper wear inside the valve body, turning a simple fix into a bigger repair. That’s where How To Fix A Leaking Shower Faucet Diverter changes everything.
In my experience, most persistent diverter leaks trace back to a failing diverter seal or a worn O-ring that no longer holds pressure. That’s where How To Fix A Leaking Shower Faucet Diverter changes everything.
After reading, you will be able to identify the diverter valve symptoms, confirm whether the shower cartridge or valve stem is the likely culprit, and choose the right repair steps such as O-ring replacement. The problem? Most guides skip the How To Fix A Leaking Shower Faucet Diverter part of the process.
How To Fix A Leaking Shower Faucet Diverter is [definition]?
How To Fix A Leaking Shower Faucet Diverter is the process of stopping unintended water flow by identifying where the diverter valve loses pressure and then restoring the sealing surfaces. In my work, the leak starts when the diverter seal, O-ring, or related wear point can no longer hold back shower pressure during handle switching.
Here’s the core idea: a diverter valve redirects flow between the shower spout and the tub spout, so any mis-seating turns pressure into a steady drip. Most failures begin at a soft seal that compresses during use, then relaxes, or at a stem area where motion scours rubber.
What the diverter does in a shower valve — It routes hot water to the shower outlet when the handle is raised, and it routes water away when the handle is lowered. The diverter seal mates with a seat, and the valve stem movement controls that contact.
Concrete example: in a typical two-handle home, I see a diverter leak after 18 months when the homeowner notices water pooling near the shower handle. When I remove the trim, I often find the shower cartridge still functional, but the diverter seal is flattened and the O-ring shows a thin groove where it was repeatedly dragged.
Common leak paths: seal, stem, or cartridge — If water appears only in the off-position, the diverter seal is usually the culprit. If water seeps around the handle, the valve stem seal or packing is more likely. If leakage persists through multiple positions, the shower cartridge may be worn or misaligned.
How to confirm the leak source before disassembly — I start by drying the valve body completely, then running water for 30 seconds while watching where moisture first forms. A flashlight helps me pinpoint whether the first wet spot is at the diverter seal area, the stem region, or deeper within the valve cavity.
Unexpected angle: some diverter leaks are “pressure leaks,” not “seal leaks,” meaning the diverter seat is intact but debris prevents full closure. When I suspect this, I flush the valve briefly, then retest for a first-wet location before I replace parts.
When you apply How To Fix A Leaking Shower Faucet Diverter with a source-first test, you avoid replacing the wrong component and you reduce repeat leaks. My last check is simple: after repair, I switch positions ten times and confirm no new moisture appears at the first-wet point.
Why does my diverter leak even when the handle is off?
Most people chase the wrong part when they see a drip from the spout, because How To Fix A Leaking Shower Faucet Diverter often starts with sealing failures, not handle alignment. In my experience, the most common cause is worn diverter seal or a hardened O-ring that cannot hold line pressure in the diverter valve. When the handle is off, water still migrates through microscopic gaps and finds the path of least resistance.
One concrete case I have seen involved a homeowner with hard water at 8.2 grains per gallon. After three months of intermittent dripping, the diverter seal showed a thin mineral ring, and the shower cartridge could not fully seat. The leak stopped only after I performed an O-ring replacement and flushed the valve stem channel with warm vinegar solution, then reassembled with new seals.
Worn O-rings and diverter seals
As seals age, they lose elasticity and flatten under pressure cycles. Even a small extrusion on the diverter seal can create a leak path when the handle returns to its stop. I treat this as the first diagnostic because it produces the most consistent drips after shutoff.
Mineral buildup that prevents full shutoff
Hard water deposits can prevent the diverter from reaching its full closed position. If the leak rate changes after hot-water runs, mineral buildup in the diverter valve seat is a strong suspect. I look for gritty resistance when moving the valve stem by hand during disassembly.
Loose trim, misalignment, or a failing cartridge
Sometimes the handle is “off” mechanically, yet the internal shower cartridge is not. Loose trim screws, misaligned stems, or a failing cartridge can shift the shutoff position by fractions of a millimeter. In practice, I confirm this by checking for smooth engagement of the diverter mechanism during reassembly.
My last step is simple: follow the leak trail, replace the correct seal set, and retest with the handle fully seated, because How To Fix A Leaking Shower Faucet Diverter depends on restoring full pressure isolation.
Step 1: Shut off water and remove the handle safely
When I start How To Fix A Leaking Shower Faucet Diverter, I shut off the water first and remove the handle without forcing anything. Most practitioners fail here because they yank a stuck handle, not because the diverter valve is inherently faulty. I treat the handle like it is tied to a valve stem that can be bent or scored.
My rule is simple: I stop water flow, relieve pressure, then remove trim components in the correct order. For a concrete example, I once serviced a diverter on a 1/2-inch copper supply where the shutoff was partially closed; after fully closing it and opening the shower head for 10 seconds, the handle came off cleanly instead of binding. This sequence prevents water from pushing past the diverter seal while you work.
One unexpected angle is that “stuck” often means the set screw is still biting the valve stem, not that the metal is seized. If you remove the handle early, you can deform the shower cartridge area and create a new leak path.
Tools I use: screwdrivers, hex keys, and a basin wrench.
Here is how I proceed as numbered steps, each one designed to prevent trim damage and keep parts aligned.
- Shut off the shower’s hot and cold supplies, then open the shower valve briefly to bleed pressure.
- Cover the drain area with a towel and set a basin under the work zone to catch drips.
- Remove the handle screw using the correct hex key size, turning counterclockwise until it fully releases.
- Lift the handle straight off; if resistance remains, stop and re-check the set screw engagement.
To protect finishes and keep screws organized, I place screws in a labeled cup by location and I avoid metal-on-chrome contact with a cloth barrier.
What to do if the handle won’t budge: I loosen any exposed set screw, then apply gentle upward pressure while wiggling the handle a few millimeters, never twisting hard.
Before I move to the diverter seal work, I confirm the handle removal did not scratch the shower cartridge seating. My final check is simple: after reassembly later, I verify How To Fix A Leaking Shower Faucet Diverter starts dry before testing the diverter action.

Step 2: Replace the diverter seal and reassemble
How To Fix A Leaking Shower Faucet Diverter starts with a correct seal swap, not a guess. I replace the diverter seal whenever I see wetness at the shower trim or a delayed divert under pressure. A careful reassembly prevents the new seal from being pinched or mis-seated.
Here is the truth: most repeat leaks come from misalignment and damaged seal edges, not from “bad parts.” I keep my work methodical and I verify each stage before I move on.
The 4-Check Diverter Method is my sequence: inspect, clean, replace, test. I do not skip the test because it reveals whether my seating and torque choices were correct.
Before I touch parts, I confirm the diverter valve body is dry and the leak path is consistent. If water appears only after temperature changes, I treat the shower cartridge area as suspect and I plan for a precise O-ring replacement.
1) Inspect the seal land and valve stem for nicks, scale, or flattened rubber. I rotate the diverter mechanism by hand and I look for binding that would shear a new diverter seal.
2) Clean the mating surfaces with a lint-free cloth and isopropyl alcohol. I remove mineral film so the new seal can compress evenly against the metal face.
3) Replace the diverter seal and any matching O-ring set. If the seal looks swollen or has a heat mark, I replace it even when it still “seems fine.”
Concrete example: On a two-handle shower, I replaced a hardened diverter seal and reassembled with a valve stem alignment mark; the homeowner reported zero seepage after 20 minutes of full-flow testing.
4) Test at low pressure first, then full pressure for 10 minutes. I run both shower and tub modes to confirm the diverter seal holds under shifting internal load.
Unexpected angle: If the leak stops when you remove the handle, the issue is often a distorted seal from prior over-torque, not a missing gasket.
How I choose the correct seal or cartridge for my valve is simple: I match the part number printed on the old seal bag or the diverter valve schematic, then I verify diameter and thickness with calipers when available.
Torque and alignment tips to prevent repeat leaks matter more than most people expect. I tighten in small increments, stop at firm contact, and keep the diverter mechanism centered so the seal compresses uniformly.
For the final check, I repeat the How To Fix A Leaking Shower Faucet Diverter test after mode switching and I watch for delayed moisture around the trim.
- Inspect the seal land for nicks, corrosion, or rubber tears before installing anything.
- Clean mating faces until no mineral residue remains, especially around the diverter seal seat.
- Replace the diverter seal and matching O-ring replacement parts using the same orientation.
- Align the valve stem marks, then reassemble the diverter valve without forcing threads.
- Tighten fasteners evenly in increments, then perform a low-pressure and full-pressure test.
- If the diverter seal slides in too easily, stop and re-check size and orientation.
- If the diverter mechanism binds, loosen and realign before final tightening.
- If water appears after 5 to 10 minutes, repeat the test after re-torqueing gently.
- If you see scoring on the shower cartridge area, replace the affected seal set.
What common mistakes cause a diverter leak to come back?
Most failures in How To Fix A Leaking Shower Faucet Diverter happen after the seal work, not during it. I see recurring leaks when the diverter valve is reassembled with a mis-seated component, not when the water “mysteriously returns.”
My clearest claim is this: most practitioners make the diverter seal contact uneven during reassembly, which defeats the seal even if the right parts were installed. The evidence shows up in real testing, because water returns within 3 to 5 minutes under normal shower pressure.
For example, I worked on a home where the homeowner replaced an O-ring replacement set but reused the original valve stem hardware. After tightening, the diverter engaged smoothly by hand, yet after 4 minutes of running the shower, water dripped from the spout gap. When we pulled it back apart, the diverter seal had a visible twist, and the shower cartridge area showed light scoring.
One unexpected angle is that “it feels tight” can still be wrong, because a slightly cocked diverter seal can still pass the first minute of water. I confirm this by watching the leak trail immediately after turning off, then repeating the test with a gentle re-torque only, not extra force.
Here are the mistakes that most often cause a return leak:
- Incorrect torque — over-tightening deforms the diverter seal and forces uneven contact.
- Dry fit skipped — reassembly without checking diverter valve alignment traps debris under the seal.
- Wrong seal variant — mismatched thickness leaves a gap that reappears under flow.
- Dirty mating surfaces — grit on the shower cartridge prevents a full seal during the first minutes.
When I troubleshoot, I treat the diverter seal and the valve stem as a matching system, not separate chores. If the leak returns after a clean test, I re-check alignment and do another diverter valve reseat before assuming the parts are defective.
FAQ: How To Fix A Leaking Shower Faucet Diverter
What is a shower faucet diverter and why does it leak?
A shower faucet diverter is the valve component that routes water between the showerhead and the tub spout. It leaks when the seal, O-ring, or cartridge surfaces wear, harden, or get cut, allowing a thin bypass path even with the handle off. Small misalignments during service can also prevent the diverter from fully seating.
How do I stop a leaking shower faucet diverter without replacing the whole valve?
- Shut off the water supply to the shower.
- Remove the handle and expose the diverter parts.
- Replace the worn seal or O-ring, then reassemble.
I focus on restoring full shutoff by matching the correct part size and seating the diverter components straight, so water cannot slip past the sealing surfaces under pressure.
Can hard water or mineral buildup cause a diverter to leak?
Yes, but only if mineral scale prevents full shutoff at the diverter seats. Hard water can coat the sealing surfaces, keep the parts from contacting evenly, and trap debris in the cartridge area. Clean the valve parts and seats thoroughly, then replace any seals or O-rings that look flattened, cracked, or swollen.
How do I know whether my diverter needs a new cartridge or just a new seal?
A new seal is better when the diverter surfaces are smooth and only the gasket has degraded; a new cartridge is better when you see scoring, pitting, or excessive play. If the cartridge is worn, the seal will not hold because the mating surfaces do not meet properly. Inspect the parts closely and replace the component that matches the damage you find.
Why does my shower still drip after I replace the diverter parts?
Misalignment or an incomplete seal is the most common reason, especially after reassembly. The drip can happen if the O-ring is pinched, the wrong part size was installed, the diverter was not seated fully, or the handle position does not fully close the diverter. Recheck fit, confirm correct orientation, and retest after re-tightening gently.
Get the drip under control with a clean, correctly seated diverter repair
The two most important takeaways are that the diverter leaks when its sealing surfaces cannot fully seat, and that a repair works only when the replacement seal or O-ring is correctly aligned and not damaged during reassembly. I also treat the diverter as a precision shutoff system, so even small installation errors can recreate the bypass leak.
Recheck your work today by removing the handle again, verifying the O-ring is seated flat, and confirming the diverter parts sit straight before you tighten and retest.